
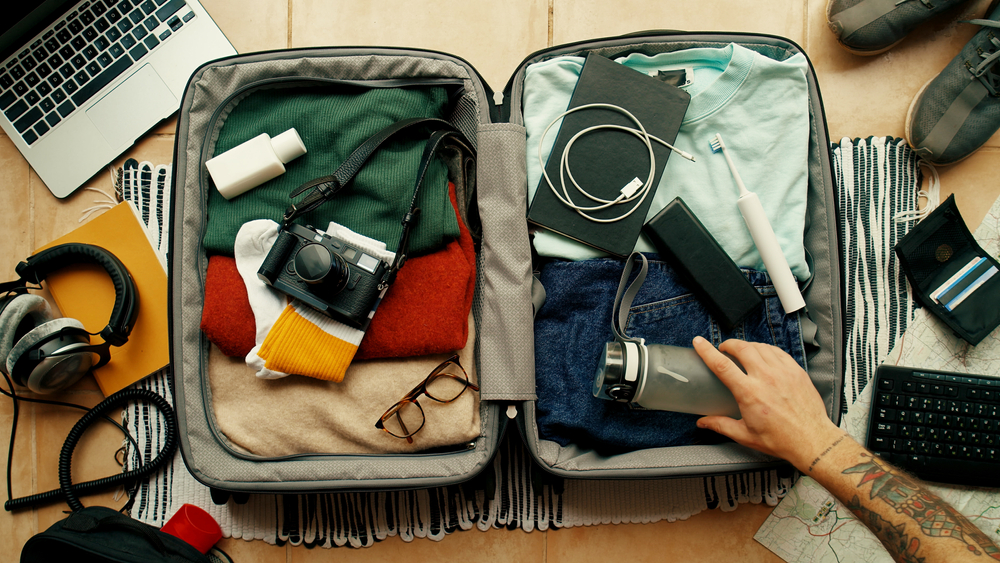
A well-organised carry-on will not make airport queues disappear, but it can stop you digging through a week’s worth of clothes for a passport while everyone behind you quietly loses patience.
The aim is not to cram the greatest possible number of items into one bag. It is to keep important belongings secure, make frequently used items easy to reach and avoid repacking your entire case after security.
This ultimate carry-on organisation guide covers choosing the right bag, dividing the space, packing liquids and batteries safely, preparing for a gate check and creating a system you can actually maintain throughout the trip.
Start With Your Airline’s Allowance
Before choosing a bag or rolling a single shirt, check the allowance attached to your booking. Cabin baggage dimensions, weight limits and the number of permitted items vary between airlines and can also depend on the route, aircraft, cabin and fare type.
Do not rely on a generic “airline approved” product description. Compare the bag’s external dimensions, including wheels and handles, with the current rules shown in your booking or on the airline’s official website.
Some fares include only a small personal item that fits beneath the seat. Others also permit a larger cabin bag for the overhead locker. If you are still choosing between formats, our guides to the best carry-on backpacks and personal-item bags for flights explain what to look for.
Choose a Carry-On That Matches the Trip
A small wheeled case works well in airports and hotels with lifts. A backpack may be easier on stairs, public transport, uneven pavements and trips involving frequent accommodation changes.
Useful features include:
- A comfortable handle or properly fitted shoulder straps
- Strong, smooth zips
- An external pocket for non-valuable items needed in transit
- A protected laptop sleeve, if required
- Internal compression straps
- A shape that uses the permitted dimensions efficiently
- A light empty weight, particularly on airlines with strict limits

Divide the Bag Into Practical Zones
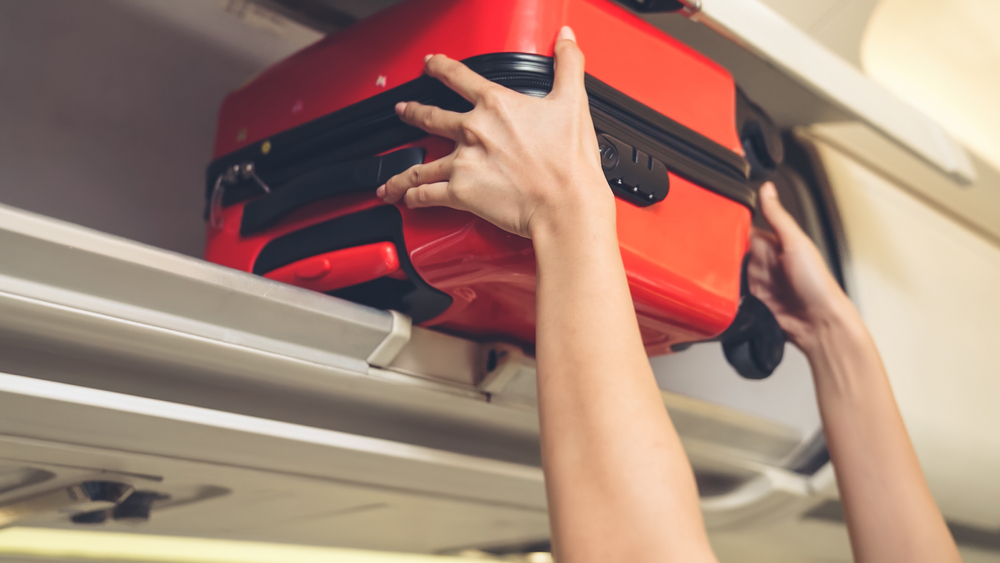
Give each category a consistent home. The exact layout depends on the bag, but a useful system separates items by how often you need them and how serious the consequences would be if they were lost.
| Carry-on zone | What goes there | Why it works |
|---|---|---|
| On your person | Phone, wallet and boarding pass | Available without opening the bag |
| Secure document pocket | Passport, identification and reservations | Protected but quickly accessible |
| Small personal-item pouch | Medicine, keys, valuables and fragile electronics | Easy to remove if the larger bag is gate-checked |
| Security-access section | Liquids and electronics when removal is required | Speeds up screening and repacking |
| In-flight pouch | Headphones, eye mask, tissues and charging cable | Can be removed before sitting down |
| Main compartment | Clothing, shoes and packing cubes | Items unlikely to be needed in the airport stay contained |
This arrangement also helps when a full flight runs out of overhead space. You can remove the small pouch containing critical items before handing over the larger bag.
Keep Travel Documents Secure and Accessible
Your passport should be easy for you to reach but difficult for anyone else to see or take. An internal zipped pocket or a document organiser inside your personal item is usually safer than an open external pocket.
Keep boarding passes, accommodation details and essential transport bookings available offline. Airport Wi-Fi and mobile data are not guaranteed, and a flat phone should not leave you unable to find your hotel.
For a more detailed checklist, see our guide to organising passports, visas and identification.
Create a Separate Electronics Kit
Loose cables have a special talent for tangling themselves around everything else. Keep chargers, adapters, earbuds and short cables together in a small pouch. Cable ties or reusable straps stop them spreading through the bag.
Only pack electronics you expect to use. One multi-port charger may replace several plugs. Label similar cables if you are carrying equipment for more than one person.
Spare lithium batteries and power banks require particular care. The US Federal Aviation Administration’s current lithium battery guidance says they must travel in carry-on baggage, not checked luggage, with terminals protected against short circuits. Capacity limits and airline approval requirements may also apply.
If staff gate-check your cabin bag, remove power banks, spare batteries and any other item the airline says must remain in the cabin.
Build a Removable In-Flight Pouch
Before boarding, place everything you expect to use at your seat into one small pouch. This prevents repeated trips to the overhead locker and avoids unpacking the bag in a cramped aisle.
Your pouch might contain:
- Wired or wireless headphones
- Charging cable
- Eye mask and earplugs
- Lip balm and hand cream within the applicable liquids rules
- Tissues or wipes
- Reading material
- Pen
- Any medicine needed during the flight
Keep the pouch small enough for your personal item. Our guide to long-haul flight comfort has more ideas for overnight journeys.
Pack Liquids According to Your Departure Airport
Security rules are not identical everywhere, and airport equipment can change. Check the official website for your departure airport shortly before flying, including the rules for connecting airports if you must clear security again.
For US departures, the TSA’s liquids, aerosols and gels rule generally limits these products to containers of 3.4 ounces or 100 millilitres inside one quart-sized bag. Exemptions and separate screening procedures may apply to medication and certain other items.
Use smaller refillable containers when appropriate, close lids properly and place products that might leak inside an additional pouch. Keep toiletries away from documents and electronics. Solid alternatives can reduce the liquids bag, but confirm how the security authority classifies any unusual product.
Add a Small Delay Kit
Even when you plan to check a suitcase, carry enough to manage if it arrives later than you do. A delay kit does not need to be a complete wardrobe.
Consider packing:
- Clean underwear and socks
- A lightweight top
- Essential toiletries
- Required medication
- Glasses or contact-lens supplies
- Charging equipment
The US Department of Transportation’s Fly Rights guidance recommends keeping medicine, keys, passports, small valuables and critical documents on your person or in carry-on baggage rather than checking them.
Roll or fold the spare clothes into one compact cube so the kit can be removed without disrupting the rest of the bag.
Separate Valuables From Replaceable Items
Ask what would cause the biggest problem if the bag were delayed, lost or placed in the hold. Passports, keys, medication, wallets, fragile electronics and irreplaceable items should remain in the smaller bag that stays with you.
If you carry prescription medication, keep it in appropriate packaging and bring any documentation required by the destination or airline. Rules for controlled medicines can vary by country.
Make Checked Luggage Easy to Identify
If you also check a suitcase, make it distinguishable without displaying sensitive personal information. A coloured strap, durable tag or small identifier can help you recognise it among a line of similar black cases.
For group trips, events or anyone wanting a coordinated option, companies such as 4inlanyards list custom luggage and flight tags. Before ordering, check minimum quantities, production time, delivery terms and how much contact information the finished design exposes.
A luggage tag should provide a way to contact you if the bag is found without displaying unnecessary personal information.
Prepare the Bag for Security Screening
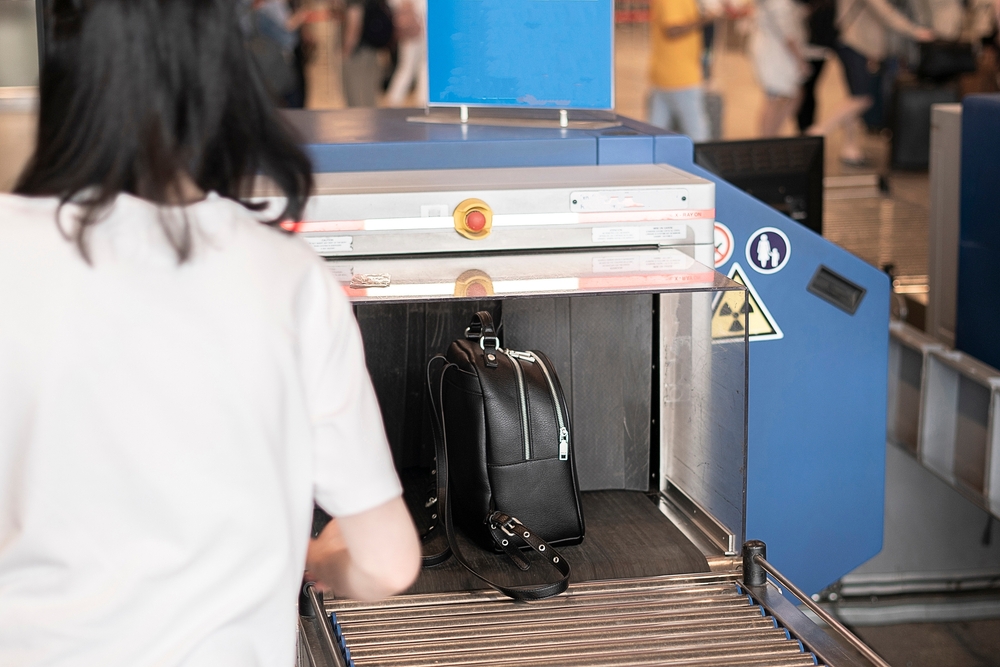
Pack with the checkpoint in mind. Place anything that may need to be removed where it can be reached without lifting out every packing cube. Requirements differ by airport and screening lane, so follow the instructions given by security staff.
Before joining the queue:
- Empty water bottles if required
- Secure loose items from your pockets
- Have the liquids bag accessible
- Know where laptops and larger electronics are stored
- Check that prohibited items have not been left in a pocket
Once screened, move away from the conveyor before reorganising everything. A consistent pouch system makes repacking much faster.
Use Packing Cubes Without Overpacking
Packing cubes organise clothing but do not reduce its weight. Compression can even make it easier to exceed an airline limit because the bag still closes.
Use one cube for everyday clothes, one for underwear and a separate bag for laundry. Our road-trip packing list includes more ideas for organising a larger load.
Leave a little spare capacity. A carry-on packed to bursting is difficult to close after security, awkward to reorganise during the trip and leaves nowhere for a snack or small purchase.
Do You Need Both a Carry-On and Personal Item?
Only if your fare permits both. When it does, treat the personal item as the bag that must stay with you and the larger carry-on as the bag that could be gate-checked.
The personal item should hold:
- Passport and wallet
- Medication
- Phone and fragile electronics
- Power bank and spare batteries
- Keys
- One small in-flight pouch
Do not expand it beyond the airline’s permitted dimensions. A second bag is only useful when it remains small, organised and easy to place beneath the seat.
Common Carry-On Organisation Mistakes
- Using one large compartment for everything: small pouches make individual categories easier to find.
- Putting documents at the bottom: passports and boarding information will be needed repeatedly.
- Packing for capacity instead of weight: a bag can fit the sizer and still exceed the airline’s limit.
- Bringing every gadget: unused electronics add weight and create more cables to manage.
- Ignoring gate-checking: critical items should be removable in seconds.
- Assuming every airport has the same liquids process: check official local guidance.
- Overfilling external pockets: bulky pockets can affect the bag’s dimensions and expose valuables.
The Final Carry-On Check
Run through the bag in order before leaving home:
- Passport, identification and boarding documents
- Wallet, keys and phone
- Medication and health essentials
- Chargers, approved batteries and adapters
- Liquids packed for the departure airport
- In-flight pouch
- Delay clothing
- Luggage identification
Finally, weigh and measure the packed bag, check the airline’s latest allowance and make sure you can carry it comfortably. The best system is not the most elaborate one. It is the one that lets you find what you need without unloading your life onto an airport floor.
