
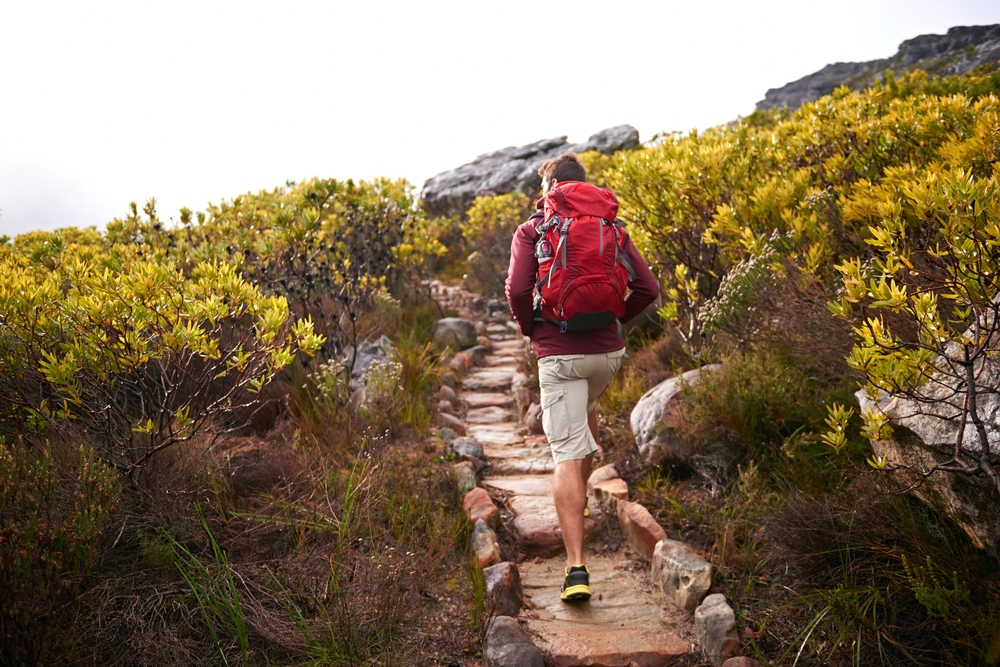
Walk into an outdoor shop as a new hiker and it can feel as though a gentle afternoon trail requires enough equipment for an expedition. It does not.
The right accessories depend on the route, weather, distance, terrain and how far you will be from help. A short, well-marked woodland walk needs a different setup from an exposed mountain hike, even if both are described as a “day hike.”
This guide focuses on the accessories that solve real problems for beginners: navigation, changing weather, sun exposure, hydration, darkness, minor injuries and keeping essential items dry.
Plan the Walk Before Buying Gear
Start with the route rather than a shopping list. Check its distance, estimated time, elevation gain, terrain and current conditions. Find out whether there are river crossings, exposed sections, steep drops or areas without phone coverage.
Ask yourself:
- Is the route clearly marked?
- How much daylight will remain?
- What is the latest forecast?
- Are water sources available and safe to use?
- Is specialist equipment or experience required?
- Where is the safest place to turn back?
Choose a route that suits the least experienced person in the group. Our broader hiking gear packing list can help once you understand the conditions you are preparing for.
The US National Park Service organises its Ten Essentials around safety systems including navigation, sun protection, insulation, illumination, first aid, food, water and emergency shelter. The exact products can change, but those needs are a useful way to assess any hike.

A Beginner Hiking Accessories Checklist
| Accessory | Why it matters | When to upgrade |
|---|---|---|
| Route map or offline map | Helps you follow the planned trail and identify turn-back points | Add a paper topographic map and compass for remote or complex terrain |
| Water bottle or reservoir | Makes it easy to carry and drink water | Consider treatment equipment only when the route requires it |
| Sun hat and sunglasses | Protect exposed skin and eyes | Choose specialist coverage for high altitude, snow or extreme sun |
| Waterproof layer | Provides protection when the forecast changes | Use a more durable shell for exposed, wet or windy routes |
| Headlamp | Provides light if the walk takes longer than planned | Carry spare batteries on longer or remote hikes |
| Basic first-aid kit | Covers minor cuts, blisters and personal medical needs | Add training and route-specific supplies before remote trips |
| Whistle | Provides a simple way to attract attention | Consider a personal locator device where appropriate |
| Dry pouch | Protects a phone, documents and spare layers | Use purpose-built waterproof storage in very wet conditions |
This is a starting framework, not a promise that every item makes every route safe. Local advice, weather warnings and your own experience should determine whether to proceed.
Carry Reliable Navigation
A phone with a downloaded route is useful, but it should not be your only plan on a remote walk. Batteries run down, screens break and GPS does not replace the ability to interpret the landscape.
For a straightforward marked trail, download the official route and keep the phone charged. For more remote or confusing terrain, carry a suitable paper map and compass and learn how to use them before relying on them.
A power bank can extend battery life, but it does not create a mobile signal. Tell a trusted person where you are going, the route you intend to follow and when they should expect to hear from you.
Protect Yourself From the Sun
Cool air and cloud do not eliminate ultraviolet exposure. Open ridges, beaches, high-altitude trails and routes with little tree cover can leave hikers exposed for hours.
A basic sun kit can include:
- A brimmed hat
- Sunglasses with appropriate UV protection
- Sunscreen suitable for your skin
- A lightweight long-sleeved layer
- Protection for the neck
The CDC’s guidance on sun exposure while travelling recommends combining shade, clothing and sunscreen rather than depending on one measure alone.
If the hike is part of a coastal trip, our beach packing list includes additional sun and water essentials.
Use Layers for Changing Weather
Outdoor conditions can change quickly, particularly with elevation. A warm start in a sheltered valley does not guarantee comfortable weather higher up.
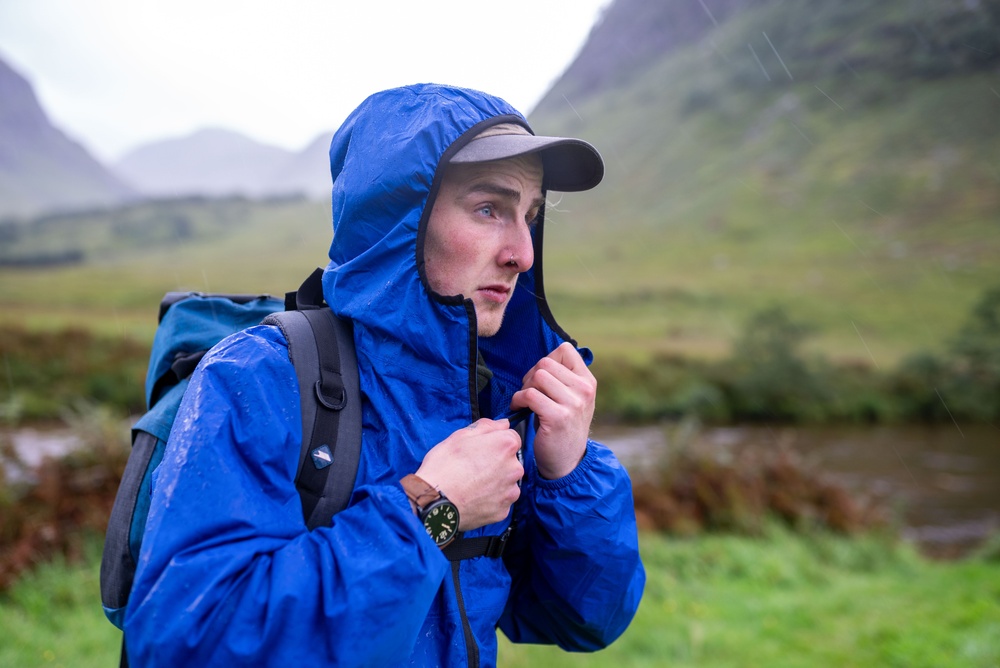
Pack a waterproof outer layer and enough insulation for the forecast, route and consequences of being delayed. A light hat, gloves or neck covering may add useful warmth without taking much space.
A tubular neck gaiter can function as a neck covering, headband or light face covering, depending on its material and fit. Suppliers such as 4inbandana list different styles, including lightweight and fleece options. Check the fabric, size, care instructions and any independently supported protection rating rather than assuming one product suits every season.
A lightweight synthetic gaiter may help manage sweat or sun exposure, while fleece may be more appropriate in cold conditions. Neither replaces a waterproof jacket, warm insulating layer or sunscreen.
Choose Socks and Foot Care Carefully
Footwear needs to suit the surface and fit properly, but small foot-care accessories also matter. Wear hiking socks that feel comfortable with your chosen shoes and test the combination on shorter walks.
Carry a spare pair on wet or longer routes, plus blister dressings or tape you know how to use. Stop when a hot spot begins rather than waiting for it to become a painful blister.
Avoid starting a long hike in brand-new boots, socks or insoles.
Plan Water Before You Set Off
Bring enough water for the conditions, distance and people in your group. Heat, elevation and physical effort can increase what you need, while delays may keep you outside longer than expected.
Do not assume water found along a trail is safe to drink. Research reliable refill points in advance. If a route requires water treatment, choose an appropriate method and learn to use it before the hike.
Pack food that is easy to carry and eat, plus a little extra in case the walk takes longer. Resealable bags or small containers stop snacks spreading through the backpack and give you somewhere to store wrappers.
Carry a Real Light Source
A headlamp keeps both hands free and should be easy to reach. It is useful even when you expect to finish well before dark because wrong turns, an injury, transport delays or slower progress can change the schedule.
Check the battery before leaving. On a longer or remote route, carry spare power or a backup light. A phone torch is better than nothing, but using it for illumination also drains the device you may need for navigation or communication.
Build a Small First-Aid and Safety Kit
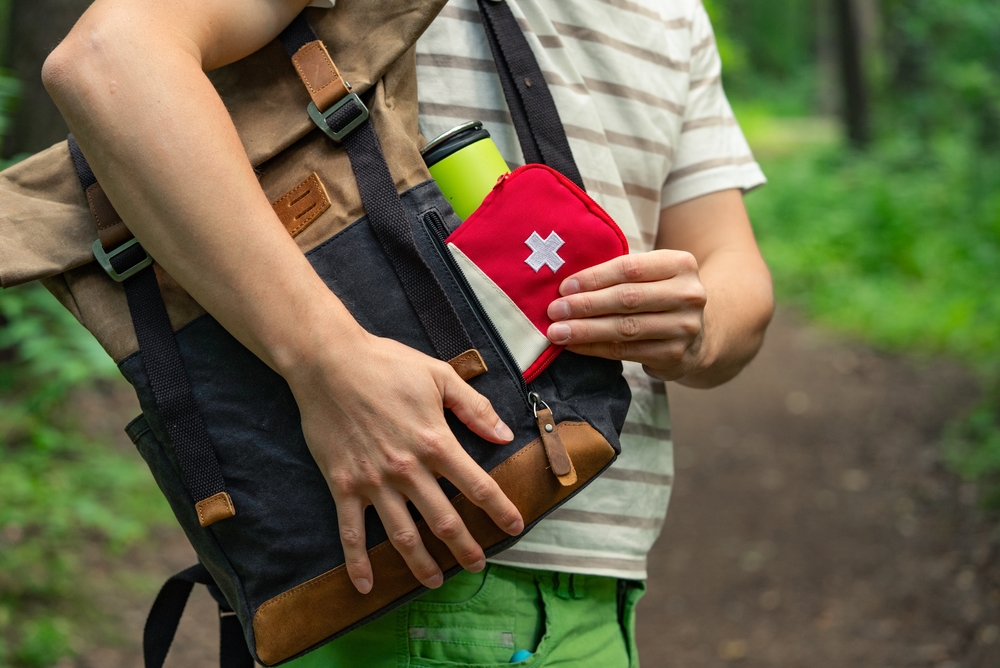
A beginner’s kit should match the group and route rather than contain every medical item available. Useful basics may include:
- Blister dressings
- Adhesive bandages
- Gauze and tape
- Any essential personal medication
- Gloves
- A small emergency blanket
- A whistle
Equipment is not a substitute for knowledge. A basic first-aid course is more valuable than carrying supplies you do not understand. For isolated routes, research whether a satellite messenger or personal locator beacon is appropriate and how emergency response works locally.
Keep Essential Items Dry and Organised
Use waterproof pouches, a pack liner or sealed bags to protect electronics, paper maps, spare clothing and emergency supplies. A backpack rain cover can help, but wind and prolonged rain may still allow water inside.
Group items by purpose:
- Quick access: water, snacks, map and weather layer
- Dry storage: phone, documents, spare clothes and first aid
- Emergency access: headlamp, whistle and shelter
- Waste: a separate bag for wrappers and used tissues
Keep the load close to your back and avoid attaching loose items that can swing or catch on vegetation. A small daypack is usually enough for a simple walk, while longer or colder routes may require more capacity.
Test Everything on a Short Walk
Test shoes, socks, backpack straps, sunglasses and layers close to home. A one-hour walk can reveal rubbing, overheating, poor fit and awkward pocket placement without committing you to a remote trail.
Practise opening the map, adjusting clothing and finding the first-aid kit. If you carry a water filter, headlamp or emergency device, learn how it works before it becomes necessary.
Pack Responsibly
Preparation also means reducing your impact. Stay on durable marked surfaces where instructed, carry out rubbish and food scraps, respect wildlife and follow local fire, camping and dog regulations.
The Leave No Trace principles offer a straightforward framework: plan ahead, use durable surfaces, dispose of waste properly, leave natural and cultural objects where they are, minimise fire impacts, respect wildlife and consider other people.
Common Beginner Hiking Mistakes
- Buying too much equipment: start with the route’s actual needs.
- Ignoring elevation: higher sections may be colder, windier and more exposed.
- Relying only on a phone: download information and carry an appropriate backup.
- Trying new gear on the main hike: test it locally first.
- Underestimating time: allow for breaks, navigation and slower group members.
- Forgetting a turnaround point: reaching the summit is optional; returning safely is not.
- Leaving no trip plan: tell someone where you are going and when you expect to return.
A Simple Starter Kit
For a short, suitable beginner trail, your final kit may include a route map, charged phone, water, food, sun protection, waterproof layer, insulation, headlamp, first-aid supplies, whistle and dry storage. Add or change items according to local advice and the route’s risks.
The best beginner accessories are not necessarily expensive or technical. They are the items you understand, have tested and can use to manage realistic problems. Start with straightforward routes, turn back when conditions deteriorate and let experience guide what you add next.
