
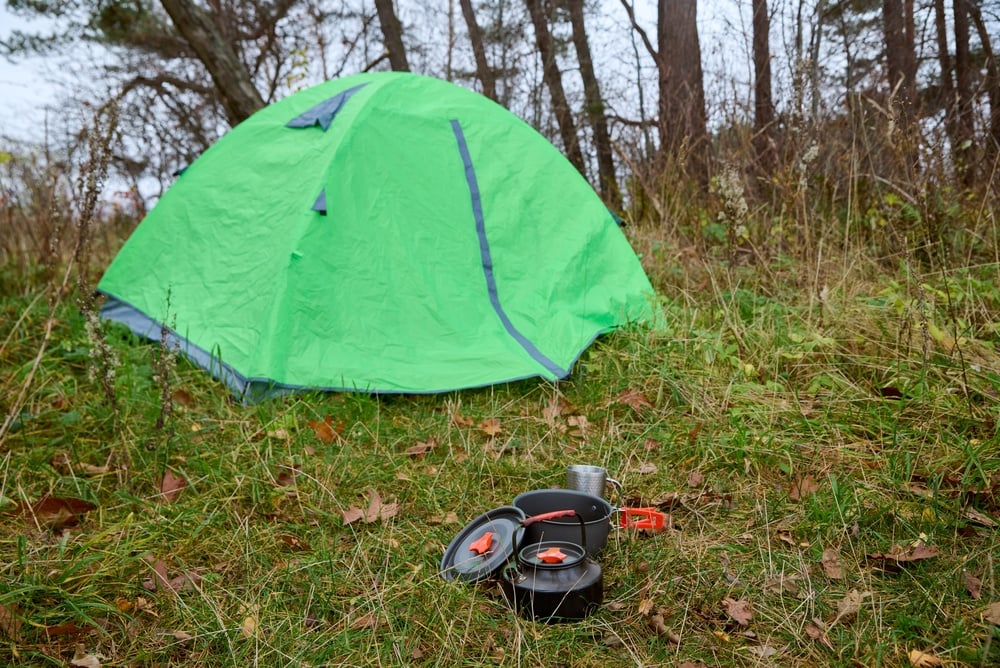
Cooking a few meals on a US national park road trip can make your budget go further and give you more flexibility around sightseeing. The challenge is fitting your kitchen into the car alongside luggage, hiking gear, drinking water and a cooler.
You do not need to recreate your kitchen at home. A manageable setup starts with the meals you plan to cook, the space you have and the facilities at your overnight stops. This guide covers what to pack, how to compare kitchen systems and the park rules to check before setting up.
Why a Smaller Road Trip Kitchen Can Work Better
Bulky equipment becomes frustrating when you have to unload half the boot to reach a pan. Keeping utensils together and reducing unnecessary extras makes it easier to prepare breakfast, pack a picnic or cook dinner after a walk.
However, compact does not always mean one large box. Two smaller containers may be easier to lift and arrange around suitcases than a single integrated unit. The useful question is whether you can carry, access and store the setup comfortably.
Start with our road trip packing list so the kitchen has a place in your overall luggage plan. Reserve space for the cooler and water before buying extra cooking equipment.
What “Compact” Should Mean for Your Trip
There is no universal size, weight or setup-time benchmark for a compact camp kitchen. A four-foot case might suit one vehicle and be awkward in another, particularly if the boot opening is narrow or the rear seats need to stay upright.
Measure the packed equipment in all three dimensions and consider its weight with water and supplies added. Check that you can lift it safely and that your chosen table or stand can support it. A kitchen that fits inside the car still needs a suitable outdoor cooking space.
| Check | What to establish before buying |
|---|---|
| Vehicle fit | Compare case dimensions with the boot opening and usable cargo space, leaving room for other luggage. |
| Loaded weight | Include water, cookware and any supplies not covered by the quoted weight. |
| Cooking space | Check stove clearances, table stability and the space needed to open lids or unfold legs. |
| Daily handling | Consider whether smaller containers would be easier to lift and retrieve. |
| Overnight storage | Plan how food, scented items and cooking equipment will meet each campground’s storage rules. |

Choose Cooking Capacity Around Your Menu
A two-burner stove can be useful if you want to cook a main dish and a side at the same time. A single burner may be enough for simple one-pot meals. Neither option has a fixed guest capacity: portions, pan size and willingness to cook in batches all matter.
Write down a few realistic meals before selecting cookware. Porridge, pasta and soup need different equipment from a full cooked breakfast. The National Park Service’s camp cooking guidance recommends consolidating meals into fewer pots to reduce what you carry and clean.
A cast iron skillet is an option if you enjoy cooking with one, but it adds weight. Choose cookware compatible with your stove and follow its limits on pan size. Try the planned meals at home before the trip.
A Practical Camp Kitchen Packing List
| Category | Useful starting point | What to check |
|---|---|---|
| Cooking | Stove, compatible fuel, ignition method, pot and pan as needed | Fuel availability and current restrictions at each stop. |
| Preparation | Cutting board, safely stored knife, spoon or spatula, can opener if needed | Select tools for your actual menu. |
| Eating | Reusable plate or bowl, mug and cutlery for each person | Choose durable items that stack together. |
| Water | Food-safe containers filled with potable water | Plan drinking, cooking and washing needs until the next confirmed refill. |
| Food storage | Sealed containers and a cooler if carrying chilled food | Allow space for cooling supplies and check wildlife-storage requirements. |
| Washing up | Wash basin, soap, cleaning cloth and a way to collect wastewater | Use the campground’s designated disposal arrangements. |
| Lighting and waste | Headtorch or camp light, rubbish bags and a small scraps container | Keep waste secure and leave the cooking area clean. |
Do not remove useful safety or cleaning supplies simply to make the box smaller. A headtorch is handy for finding utensils and washing up after dark; our hiking gear packing list can help you identify equipment that can serve both camp and trail use.
Plan Water Separately From Kitchen Size
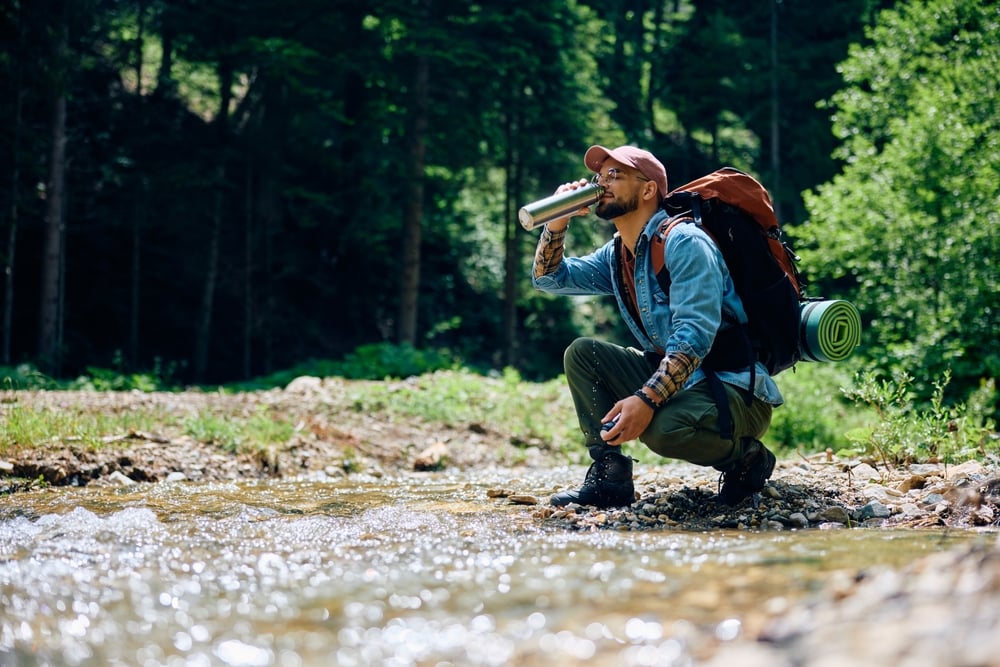
A two-gallon tank describes storage capacity, not how long your supply will last. Two US gallons is approximately 7.6 litres, and your needs depend on the number of people, meals, weather, activity and time between refills.
Budget separately for drinking, food preparation and washing. Carry a reserve appropriate to the route, and check park-specific advice for hot or remote conditions. Do not assume the water inside a kitchen kit covers the whole trip.
Refill only from a confirmed potable source, with permission where needed. Check campground water availability before arrival rather than assuming every visitor centre or petrol station has a suitable tap.
Is an All-in-One Camp Kitchen Worth Considering?
An integrated camp kitchen can keep equipment together between stops. The linked retailer describes its VOZ kit as including a butane stove, sink, USB-rechargeable faucet, two-gallon tank, cookware, utensils and lighting.
Its website lists a 48 × 19 × 11-inch case and a 57 lb dry weight. Those dimensions need checking against your vehicle; they do not establish that it will fit a rental sedan. Ask the seller exactly what the weight includes and whether water and fuel are excluded. Two US gallons of water alone adds roughly 16.7 lb.
The retailer also advertises a quick setup, but allow time to unload, position the unit safely, prepare the stove and organise ingredients. Compare the complete system with a simpler collection of equipment you already own, especially for a one-off holiday.
What You Can Usually Leave at Home
- Cookers with overlapping jobs: Choose equipment around your meals instead of packing a stove, grill and extra cooking system by default.
- Speciality appliances: Bring them only if using them is an important part of the trip.
- Unnecessary duplicates: Keep enough tools for practical, hygienic cooking without packing a drawer’s worth of utensils.
- Fragile tableware: Stackable, durable dishes are easier to transport.
- Excess groceries: Plan portions and resupply stops, while keeping backup food for delays.
- Extra furniture: Check the campsite listing for a picnic table before deciding whether to bring your own.
Check Cooking and Fire Restrictions at Every Stop
A portable stove does not give you permission to cook at any viewpoint, car park or picnic area. Check the rules for the specific location and the park’s current alerts before each stop. Do not assume a gas stove is permitted just because campfires are banned.
Use fuel-burning camping stoves outdoors, away from tents and vehicles, following the manufacturer’s instructions. Never move cooking into the car or tent because it starts raining. The CDC warns against indoor use of portable gas camp stoves because of carbon monoxide risk.
Keep a meal that needs no cooking available for bad weather, a late arrival or restrictions. Let the stove cool before packing it, and follow its instructions for fuel storage and transport.
Food Storage and Washing Up in Bear Country
A weatherproof kitchen case is not automatically bear-resistant or approved for food storage. Requirements vary by park, campground and activity, and can cover toiletries, rubbish, coolers and dirty cookware as well as groceries.
For example, Yosemite’s food-storage rules prohibit leaving food in cars after dark and require campground food lockers, with specified exceptions for suitable hard-sided RVs and trailers. Do not apply one park’s rules to every stop on your route.
Check locker dimensions and plan to remove items from the kitchen case when required. A large case may not fit, and the locker also needs space for other items that require secure storage.
Clean up promptly and collect food scraps. A built-in sink still needs a wastewater plan: follow the campground’s disposal instructions and ask a ranger or host where to empty it. Do not assume you can drain it onto the campsite or into a stream, even when using biodegradable soap.
Try the Setup Before Your Road Trip
Load the kitchen with the rest of your luggage and practise making a meal. Check what is difficult to reach, what you never use and how long washing up and repacking take. With a rental car, avoid relying on an exact vehicle model or optimistic luggage-capacity description.
If your route includes overnight hikes, keep that equipment separate from the car-camping kitchen. Our guide to backpacking in US national parks offers ideas for the walking side of the trip; check each park’s current permits and storage requirements before committing.
A useful road trip kitchen fits your vehicle, your meals and the places where you will cook. Leave room for the essentials, keep the setup manageable and give cleaning and safe storage as much thought as dinner.
