
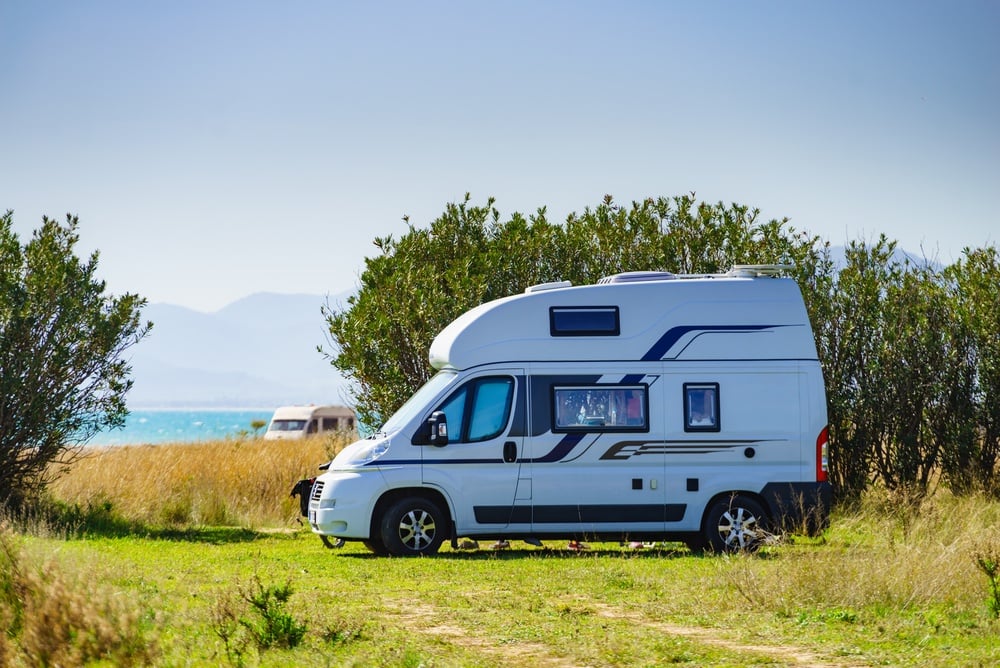
Most experienced caravanners have the pre-departure checklist down cold: tyre pressures, hitch, lights and gas. What can catch even seasoned travellers off guard is what happens while the caravan is sitting still.
Long periods in storage expose seals and tyres to heat and UV, allow batteries to discharge and create the conditions in which condensation, damp and mould can develop. Left unchecked, these problems can affect the caravan’s condition, reduce its resale value and result in expensive repairs.
A simple maintenance routine makes it much easier to keep your caravan dry, secure and ready for the next trip. The checks do not need to take long, but they should cover the exterior, interior, tyres, battery, water system and signs of moisture.
Caravan Maintenance Schedule at a Glance
| When | What to Check | Approximate Time |
|---|---|---|
| After every trip | Clean the interior, remove food, dry wet equipment and inspect for damage | 30 to 60 minutes |
| Every month in storage | Check moisture, tyres, seals, battery and security | 10 to 20 minutes |
| Every three months | Test appliances, inspect hoses and examine the roof and exterior fittings | 30 minutes |
| Before the wet or storm season | Complete a detailed roof, drainage and seal inspection | One to two hours |
| Before the next trip | Check roadworthiness, lights, brakes, tyres, gas, water and electrical systems | At least one hour |

Choose a Suitable Caravan Storage Location
Where and how you park your caravan influences almost every other maintenance challenge. Strong Australian sunlight can damage exterior finishes and seals, coastal air accelerates corrosion, and heavy rain can create problems if water pools around or beneath the van.
A carport, shed or purpose-built storage facility provides the most protection. If the caravan will be stored outside, choose firm, well-drained ground away from overhanging trees.
Tree sap, leaves and bird droppings can mark exterior surfaces, clog drainage channels and retain moisture. Branches that appear harmless in calm weather can also become a risk during a storm.
Keep the caravan reasonably level from front to back and side to side. This helps rainwater drain from the roof rather than collecting around seams or fittings. Use appropriate wheel chocks and follow the manufacturer’s instructions for stabilising the caravan during extended storage.
If you are preparing for a longer journey rather than storing the van, our comparison of Australia and New Zealand campervan road trips includes route-planning and packing advice.
Protect the Caravan From Sun and Rain
A purpose-made breathable caravan cover can reduce exposure to sunlight, dirt and rain. Avoid wrapping the caravan in a basic plastic tarp. Plastic can restrict airflow, trap condensation and rub against exterior surfaces when the wind picks up.
Choose a cover designed for the dimensions of your caravan and secure it according to the manufacturer’s instructions. Check it periodically for torn straps, worn areas and sections where water is collecting.
Before storing an awning, clean it and allow it to dry completely. Rolling away damp fabric encourages staining, mildew and unpleasant odours. Do not leave an awning extended while the caravan is unattended, as wind and pooled rainwater can damage the fabric and supporting hardware.
Look After Caravan Tyres During Storage
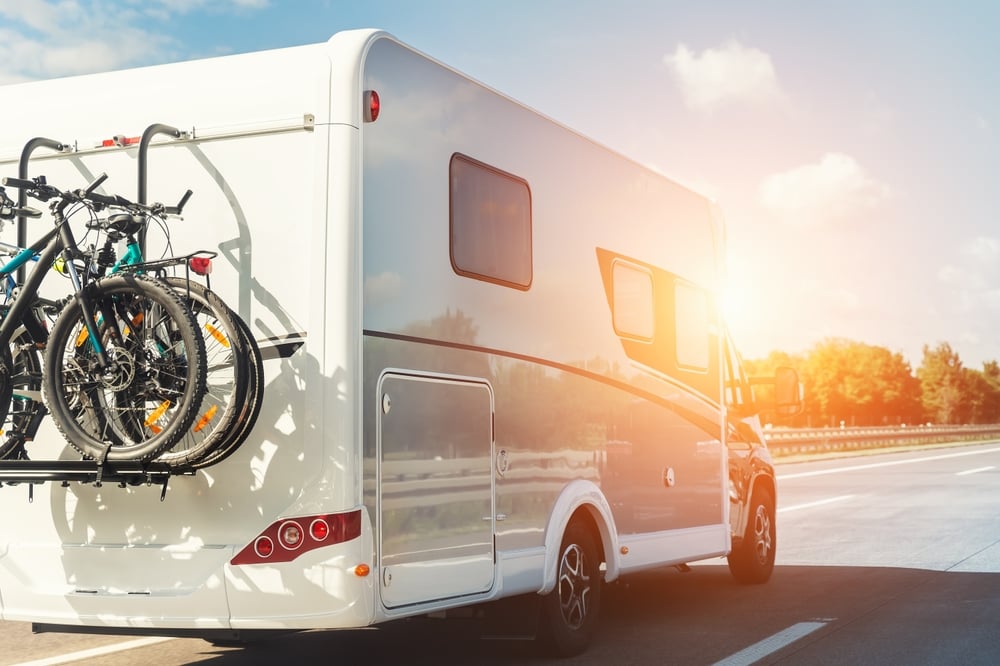
Caravan tyres continue to age even when the van is not moving. Sunlight, incorrect pressure and long periods supporting weight in one position can all affect their condition.
- Park on a solid, level surface rather than soft or waterlogged ground.
- Check tyre pressures against the caravan or tyre manufacturer’s recommendation.
- Inspect the sidewalls for cracking, bulges, cuts and discolouration.
- Use tyre covers if one side of the caravan receives prolonged direct sunlight.
- Consider suitable tyre cradles for extended storage.
- Have old or questionable tyres assessed professionally, even if the tread still appears adequate.
Do not rely on appearance alone when deciding whether a caravan is ready for the road. Tyre age, load rating and storage conditions matter alongside tread depth.
Control Ventilation and Condensation
A closed caravan can experience significant temperature changes between day and night. Warm air carries moisture, which can condense on cooler windows, walls and other surfaces. Repeated condensation creates an environment in which mould can develop.
Use roof vents or ventilation points that are designed to remain open during storage without allowing rain or pests inside. Do not block permanent vents, particularly those installed as part of a gas appliance or safety system.
If the caravan is stored near home, open the doors and windows on dry, breezy days. A thorough airing every few weeks can help remove humid, stale air, although it should support rather than replace continuous ventilation.
Other useful condensation-control measures include:
- Leaving internal cupboard and wardrobe doors slightly open.
- Moving cushions away from cold exterior walls.
- Lifting mattresses enough to allow air to circulate underneath.
- Removing wet towels, clothing and footwear after each trip.
- Keeping the refrigerator clean, dry and slightly open when switched off.
- Using reflective window covers to reduce heat and UV exposure.
- Checking enclosed areas beneath beds and seating.
Disposable moisture absorbers can be useful in cupboards and other enclosed spaces, but they need to be checked regularly. Position them where an accidental spill will not damage furniture, flooring or metal surfaces.
If the caravan has a safe power connection, a suitable dehumidifier may offer more consistent moisture control. Only use equipment approved for the environment and follow its instructions for drainage, timers and unattended operation.
Build a Simple Damp and Mould Prevention Routine
Preventing mould is easier than removing it. A monthly inspection can reveal a small leak or condensation problem before it damages wall panels, flooring or furniture.
Begin by walking through the caravan and paying attention to its smell. A persistent musty odour can be an early warning, even when no visible mould is present.
Interior Areas to Inspect
- Around window frames and roof hatches.
- Inside overhead cupboards and wardrobes.
- Behind curtains and blinds.
- Under mattresses, cushions and fixed seating.
- Around the shower, toilet and bathroom floor.
- Inside the cabinet beneath the kitchen sink.
- Near the hot water system and internal plumbing connections.
- Along ceiling corners and wall joints.
Look for dark spots, water stains, peeling laminate, swollen panels, damp fabrics or condensation that remains after the caravan has been aired.
Exterior Areas to Inspect
Check the seals around windows, doors, roof vents, storage hatches, lights, antennas and solar panel mounts. Sealant that is cracked, lifting or separating from the surface may allow water to enter.
Do not assume that adding a fresh layer of sealant will always fix the problem. The existing material may need to be removed and the area prepared correctly. Consult the caravan manufacturer’s instructions or a qualified repairer if you are unsure which sealant is compatible with the surface.
Dry Everything Before Closing the Caravan
Wet towels, swimmers, jackets and shoes introduce a surprising amount of moisture into a small space. Remove them as soon as possible rather than leaving them in a bathroom, locker or under-bed compartment.
Awnings, annexe walls, outdoor mats and camping chairs should also be completely dry before being packed away. If rain forces you to pack them wet, unpack and dry them once you return home.
Wash and thoroughly dry bedding before a lengthy storage period. Breathable storage bags are generally more suitable than sealed plastic bags when there is any possibility of residual moisture.
For more ideas on organising equipment for your next journey, see our road trip packing list and practical road trip hacks.
How to Deal With Mould in a Caravan
If you find mould, deal with it promptly and investigate where the moisture came from. Cleaning the visible growth without addressing a leak, poor ventilation or recurring condensation is unlikely to solve the problem permanently.
A small amount of surface mould may appear around a window, on a silicone joint, beneath a mattress or behind a curtain. More widespread growth, damaged wall panels or mould that repeatedly returns may indicate water ingress requiring further investigation.
The correct cleaning method depends on the affected material and the extent of the problem. RV Parts Express provides a more detailed guide to cleaning mould off your caravan, including practical steps for treating affected areas and preventing the mould from returning.
Before Cleaning Mould
- Open windows and doors to improve ventilation.
- Keep children and pets away from the affected area.
- Wear suitable gloves and eye protection.
- Consider respiratory protection appropriate to the task.
- Check the care instructions for the affected material.
- Never mix bleach with ammonia, acids or other cleaning products.
Use a cleaner suitable for caravan surfaces. Strong household chemicals can discolour fabrics, weaken rubber seals or damage laminates. Avoid soaking timber-based panels because adding more moisture may make the underlying problem worse.
Official NSW Health mould guidance recommends good ventilation and appropriate protective equipment during cleaning. It also explains when more intensive cleaning methods may be required.
After cleaning, dry the area completely and improve airflow around it. Leave nearby cupboard doors open and continue monitoring the affected area over the following weeks.
When to Call a Professional
Stop treating the issue as a simple cleaning job if you discover:
- Soft, swollen or crumbling wall and ceiling panels.
- Water stains that continue to grow.
- Mould across a large area or in multiple parts of the caravan.
- A persistent musty smell with no visible source.
- Water entering around a roof fitting, hatch or window.
- Mould that returns soon after cleaning.
- Symptoms that appear or worsen while someone is inside the caravan.
The Australian Government’s information on mould-related illness provides further health guidance and links to relevant state and territory resources.
Check the Battery and Electrical System
A battery left unattended for months may gradually discharge and lose performance. The correct storage arrangement depends on the battery type, charging system and caravan manufacturer’s instructions.
Check the battery periodically and use a compatible charger where required. Examine accessible terminals for corrosion and confirm that cables remain secure. If your caravan has solar charging, safely inspect the panels for dirt and check the regulator for warnings.
Before travelling, test:
- Interior and exterior lights.
- Water pump.
- Ventilation fans.
- Battery monitor.
- Electrical outlets when connected safely to mains power.
- Refrigerator and other essential appliances.
Any damaged mains lead, overheated fitting, exposed wiring or unexplained electrical fault should be inspected by a qualified professional.
Inspect the Gas and Water Systems
Follow the caravan and appliance manufacturers’ instructions for isolating gas and water during storage. Requirements can vary between caravan models and climates.
Visually inspect gas bottles, regulators and accessible hoses for damage, deterioration or corrosion. Do not attempt to modify or repair the gas system yourself. Gas leaks, expired components and appliance faults require an appropriately licensed technician.
Check under sinks, around the shower, near the toilet and beside the hot water system for drips or water staining. Drain or prepare tanks and pipework according to the manufacturer’s storage instructions, particularly where freezing conditions are possible.
Before the next trip, fill and flush the water system as recommended, then test taps, pumps, drains and the hot water system while the caravan is still at home.
Complete a Road-Readiness Check
A storage inspection helps protect the caravan, but it does not replace a proper pre-departure check. Before towing again, examine the systems that affect road safety.
- Check tyre condition and pressure.
- Confirm the wheel nuts have been checked to the correct specification.
- Test brake lights, indicators and clearance lights.
- Inspect the coupling, safety chains and breakaway system.
- Look for corrosion, damage or loose wiring around the running gear.
- Confirm doors, windows, hatches and external lockers close securely.
- Test the brakes at low speed in a safe area.
- Check that registration, insurance and servicing are current.
Brake servicing, wheel-bearing work, electrical repairs and gas certification should be completed by qualified technicians. Discovering a fault at home is far less stressful than finding it on the first day of a road trip.
Our broader collection of road trip tips can also help with route planning, packing and preparing for a longer journey.
Keep a Small Caravan Maintenance Kit
A basic kit allows you to address minor problems when you first notice them. It can also prevent a quick inspection from turning into a search through the garage for missing tools.
A useful caravan maintenance kit may include:
- Digital tyre-pressure gauge.
- Battery monitor or suitable multimeter.
- Microfibre cloths.
- Soft cleaning brush and non-scratch pads.
- Caravan-safe surface cleaner.
- Disposable moisture absorbers.
- Protective gloves and eye protection.
- Torch or head torch.
- Spare fuses of the correct ratings.
- Replacement light bulbs where applicable.
- Manufacturer-approved sealant for minor repairs.
- A notebook or digital maintenance log.
Do not use a generic sealant, fuse or electrical component simply because it fits. Confirm that every replacement is compatible with the caravan and suitable for its intended application.
A Realistic Between-Trip Maintenance Routine
The best routine is one that is simple enough to follow consistently. Most owners do not need to spend an entire day inspecting their caravan every month.
Start with a brief monthly visit. Check the tyres and security, walk around the exterior, open the caravan and note any unusual smell. Look at the known damp areas and check the battery or charging system.
Complete a more detailed inspection after every trip and before the wet or storm season. Record any repairs, battery checks, tyre changes and seal work so you do not have to rely on memory.
Your maintenance log should include:
- The date of each inspection.
- Tyre pressures and visible condition.
- Battery voltage or charging status.
- Areas where condensation was found.
- Sealant or exterior damage requiring attention.
- Repairs completed and parts used.
- The date of the next professional service.
Keeping a caravan in good condition between trips is mostly about noticing small changes early. Ten minutes spent checking a window seal, damp cupboard or weakening battery can prevent a much larger problem when it is finally time to get back on the road.
